So I don't quite have a "before" because this dress I put together with a yard of fabric and a tank top - so here are the general pieces, as well as the general idea of the look I was (trying to) head for.

Sorry about the straight up blurriness - not sure how that one happened.
So I bought the tank at Salvation Army for $1.50 (50% off "original Salvation Army price - love that they do sales on their own low prices). The above picture also shows my general idea - put the fabric at empire waist and sew down. Easy peasy was what I was going for! However, the yard of fabric was quite the headache. My initial idea was to buy a thick piece of elastic and then add a fun piece of fabric to the bottom for the skirt and do it on the cheap. While in line to have the fabric cut, I saw this fancy taffeta fabric (already connected to elastic) and thought "Shortcut! Sweet!" and the fact that it had a huge 50% off sign on it helped quite a bit as well. So I had them cut that fabric instead - never looking at the price, mind you - and happily skipped walked to the register. Come to find out, my "shortcut" fabric was originally priced at $30 dollars! So I forked over my $15 and learned my should-be-obvious lesson of looking at the original price before saying "1 yard please!" There goes my holiday dress on the cheap. Here's a close up of the fabric:

I have to admit, though - it's really pretty! So once I sucked it up that I spent too much on this dress, I pinned it together and went to the machine to sew the fabric onto the tank. And this was my first mistake.
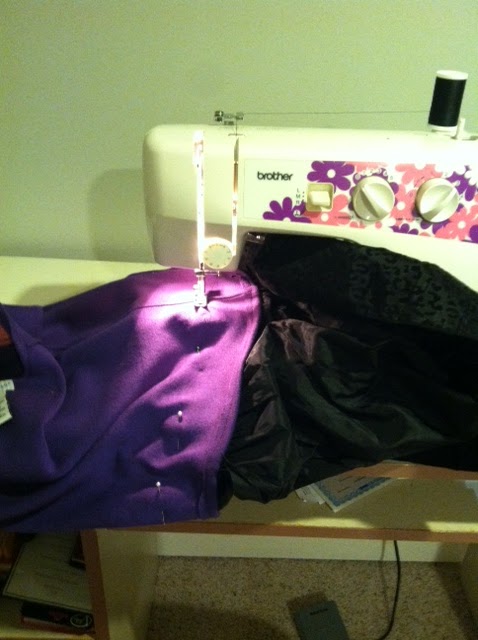
The way I figured it out? I pinned it up how I wanted it to look and then broke it down in both my head and in its physical being and finally figured out how it had to go so that I could send it through the machine like a regular old piece of fabric. Here's what I figured out:

Luckily, that is literally all I had to do with the dress - it was done.

So I slapped on my favorite shoes (which are literally what I built this dress around), and threw on some accessories and gave it a go. I think it turned out rather well! Then I realized it was December in New York, and slapped on a sweater:

Done and DONE! Although the sweater was not warm, I knew the party would be inside so it would make due (do?) But I did decide that black tights were the way to go to be a bit more comfortable, as well as some added warmth. I bought a pair of clearance patterned tights at WalMart for $4 dollars and the party dress was done! Altogether, I spent $20.50 for my homemade party dress. Not too shabby, but I'm still a bit angry that it's a higher price than I anticipated.
So what did I learn? Mainly - look at prices when shopping outside of the Salvation Army. In Salvation Army I'm in pure "cheap-o" mode, but outside of it, I get into an impulse mode that I can't seem to stop. Time to take a breather and look at tags. Also, making clothes is a bit more difficult than I thought, something that a dressform (I may or may not have already named my future one Sophie) may make a bit easier. That's for way in the future when I know better than to jam up everything into my sewing machine arm (seriously, is that what it's called? That's what it sure looks like. Where is that dang book?!).
Hopefully, I'll be writing again soon after Christmas for a breakdown of my Christmas gift! Unless the recipient does not like it; then I will hide that post forever in my computer and never let it come out again. Just kidding - I promised I'd even post my fails!
Colette, I love this dress! Making a tank dress is on my crafting to-do list, so I am very glad I saw this post to get a couple of your tips :)
ReplyDeleteI’m glad it was useful to me. Thanks for your work. Ill be in touch
ReplyDelete