Thursday, June 27, 2013

Improve (and Improv)

As you all know, I had a run that I stupidly signed up for on June 17th. Although I didn't run the whole 3.5 miles, I'm pretty darn proud that I finished it. Also - not only did I finish it, but I didn't come in last! Here I am, all sweaty post-race (for your viewing pleasure, of course)

Although I'm not proud of my time (slow) and not proud of my performance (walked too much), I've certainly inspired myself to be better. Using our Fitness Initiative incentive at work, I'm going to buy myself some nice work out gear and a few health-inducing habits (smoothies!) that should help me improve myself and my well being.

In the spirit of my newfound improvement motivation, this week I went back to a few projects that I left at "eh, good enough" and made "oh hey, it's not that bad!".

The first project I took on was this one:
This one was left in it's "good enough" stage when I left that left side all jacked up. The thread pulled the fabric, which made it bunch and uneven on the bottom. It was also a bit short, making the uneven hem even more apparent. So... under the machine it went!

 
I chopping off a few inches on the bottom, right above where all the mess-ups were, and made a real hem. I also went around the bottom twice. As I learned from the first time around, the fabric was pretty fussy and stretchy, so I made sure to zig-zag stitch both times around.
 
In the end, I have a cute blouse that can be worn with leggings during the weekends, or some dress pants and a sweater for work. I love that I refashioned my refashion.
 
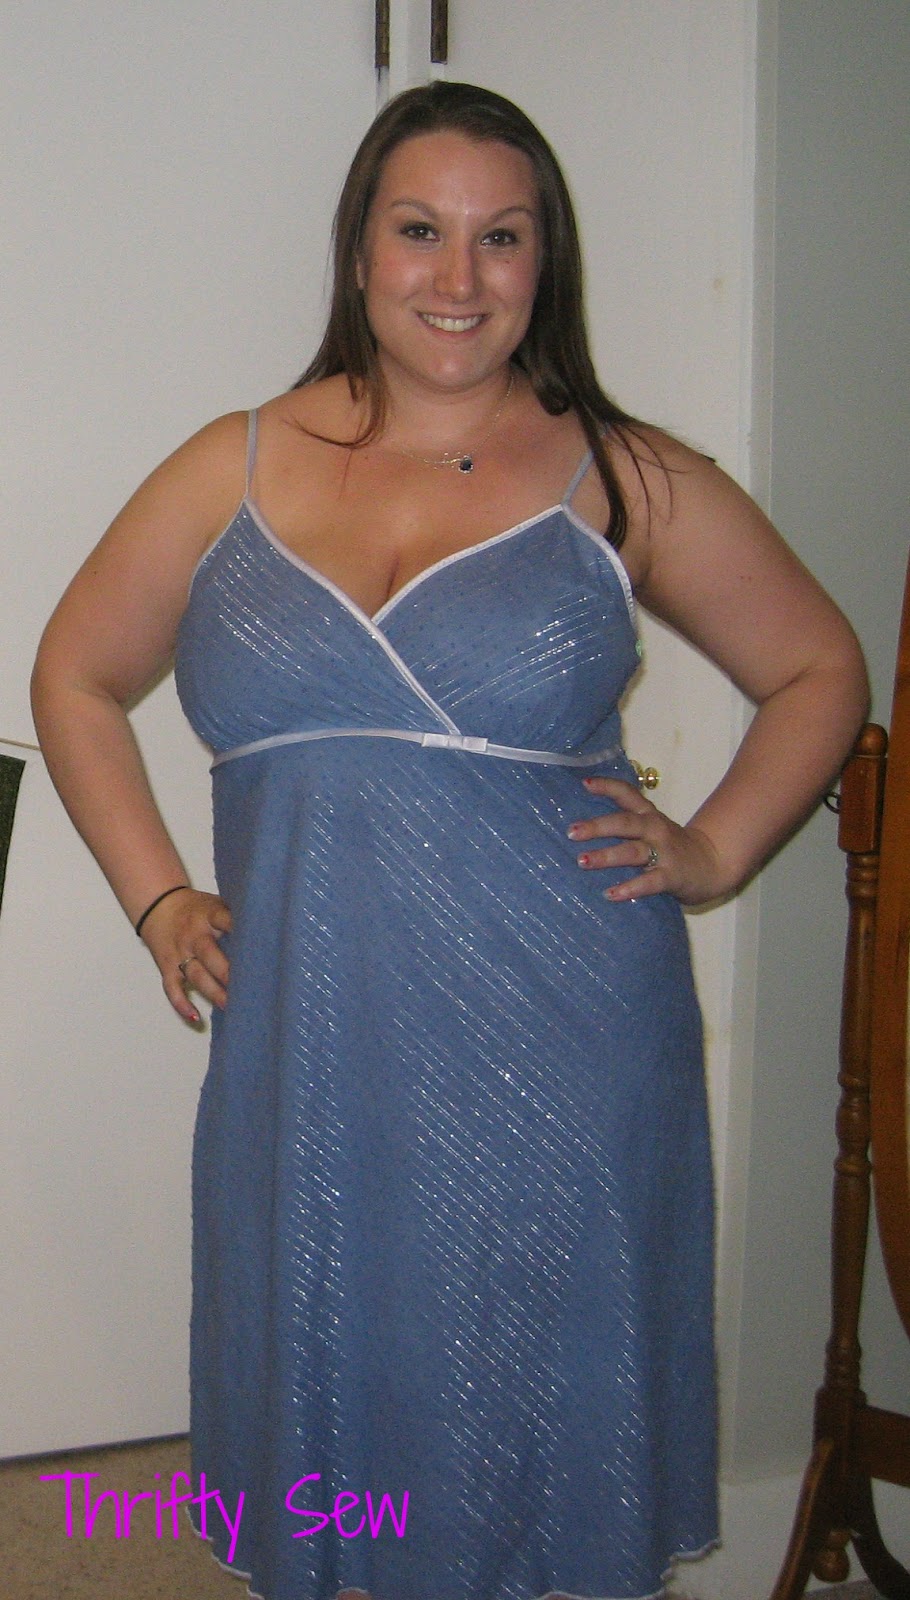
The next project I decided to improve was one that I did very recently:
This project I'm pretty fond of... except I never did anything to the straps. The straps were huge and they had buttons on the back to attach to. The problem? The buttons were on the wrong side! First thing I did was rip off the buttons, then I seam ripped the straps out. My plan was just to make the straps shorter, but then I realized the large straps could be my benefit. I tied them together in a halter (this is the improve part) and "voila!" I ended up solving two problems. The first solved problem was obviously fixing the strap problem so they weren't falling off my shoulders. The second solved problem was the length - instead of making the straps shorter, thus making the short dress even shorter, the halter top enabled me to actually shift the dress down a bit so it wasn't AS short. A+ for problem solving.
 
The last project I improved on was this one. Although - I have no pictures because my camera apparently only "pretended" to take pictures. The flash went off and everything went fine... except when I went to view them at the end of the project and nothing was there. Real funny, camera, real funny.
 
I said at the end of my video that I'd probably keep the dress as big as it was because it was super comfy. Super comfy - yes. Super flattering? Not in anyone's world. I decided to take it in a few inches. The hard part on this dress was that there was the lining of the dress and the shear overlay of the dress and both were separate pieces. This wasn't a project I could just flip inside out and sew up the sides and call it a day (damn). First I worked on the lining. I made sure it was completely separate from the overlay and pinned about (read: improv) an inch on each side. I sewed up those sides and cut off the excess. Then I did the same thing with the overlay - made sure it was completely separate, pinned it about an inch on each side, sewed it up and cut off that excess. Luckily, the two paired up nicely and they ended up being even on the bottom. Next time, I probably wouldn't improv as much on this - after I sewed I was pretty nervous I'd have a dress with half the lining hanging out. Taking the sides in also shortened it (the one time I remember the golden rule...) so I didn't take anything off the bottom. Gotta keep it appropriate, now.
 
So that was the improving that I did. I've certainly learned that I can improve things that are just "alright" and turn it into something livable (you know, the whole idea of this blog) and I can even improve on things that I've already done, no matter if I despised the ending result or loved it.
 
There you have it! Have a fantastic Thursday (and Friday, and every day). As always, feel free to leave comments, suggestions, likes or hates either here on the blog or at thriftysew@gmail.com
 

Thursday, June 13, 2013

Hawaiian Breeze

Happy Thursday, all! I'm coming down from an 11 hour workday, so today's project had to be a quick and easy one in order for me to go to bed at a reasonable hour (and, ya know, not by a big ol' grumpy face.)

So I started off with something that wasn't so bad.

This one definitely had potential, with only a few issues. The print is definitely what drew me towards this. It's been raining like crazy here in New York lately so it is far from feeling like summer. This dress picked my mood right up. The few issues were easily fixable ones - it was way too big, to begin with, the skirt was tiered which was super unflattering and the bottom fell right on top of my ankle - not a flattering look for my 5 foot frame.
 
First thing that I did was seam-rip the dress off at the top tier. This left the bodice and about half of the skirt. I do admit I cut a few corners here and there. Such as - I never actually pulled out the seam ripped threads, so all along the bottom are small pieces of severed red thread. I also may have gotten frustrated with the seam ripping and just straight up tore it. Whoops.
 
Next, I tackled the sizing. I turned the dress inside out and took in the sides about 1 inch each. I then reshaped the waist a bit more to cut in at the smallest part of my waist and then go back out, thus creating a "bubble skirt". The inside red line in the picture is mine, and then I cut out the excess.

 
And believe it or not - that was it! Now, I did forget the golden rule - bring in at the sides and then chop off the bottom, so it did turn out a smidgeon lot short. I am actually quite in love with how it turned out... when I stand still. Unfortunately, as a human, I need to move and such and when I do that in this dress I'm not confident that I'm keeping my wardrobe at a "G" rated level. Because I love the shape so much, I will probably add on some fabric from the original bottom to the new bottom to lengthen it to a more appropriate level as well as bring in the bodice an inch or two more, but otherwise, this is right up there with some of my other favorite projects!
 
 
As always, leave comments below with suggestions/critiques/wow's or just e-mail me at my shiny new e-mail address: thriftysew@gmail.com.
 
Until next Thursday - good night!

Thursday, June 6, 2013

Blogging from Bed

Happy Thursday, all. I'm currently in bed due to one heck of a cold that has knocked me right on my butt. I did start a project yesterday, so hopefully I'll get to finish it this weekend and get it posted as a nice weekday bonus post.

For now, I thought I'd hold you over with a new feature! As you may have noticed, google has now changed my comment section to combine with google+. I don't know what issues you are all having on your end with it, but I am having issues with commenting on your comments (to tell you how awesome you are for commenting, of course). In result, you now have the option to email me! Check out the new page link on top!

Now, if you want to send me a private message or if you're having issues posting comments, shoot me an email! I am not joking when I say I will respond to each and every one!

So here it is: thriftysew@gmail.com

That's handy, right?!

I'll get to work on feeling better, and I hope you all have a fantastic weekend! Check back soon for a belated post, and make sure to check my video in the last post to learn how to dye stuff (it's high skill and stuff!)

Sunday, June 2, 2013

Sunday Bonus (Tutorial Video)

Hey all! Thought I'd try something new ... I made a video! As you'll hear, one of my more popular blogs was from the "Dying Dresses" blog, so I thought I'd take it a step further and do a tutorial video so you guys can dye your own dresses! Let me know what you think! (Please be nice - I'm a first time video editor, creator and poster. It's not perfect, and I'm aware of that fact.)
 
 
Of course I had to add bloopers at the end - they're only the best part of every movie!

As promised, here are the 'after' shots as well. I really like this blue :) And after I made the video, I decided that I definitely will make the dress smaller one of these days. As comfy as it is, it doesn't exactly fall in the most flattering of ways.