I had a fantastic Christmas this past weekend and am lucky enough to call it a weekend because we truly did spend 4 days full of Christmas festivities. It was pretty amazing. I had such a great time with all our family and friends - I haven't laughed that much in a long time.
In the spirit of the holidays, I decided to get a jump start on New Years. Although plans are certainly not made yet - my dress will be.
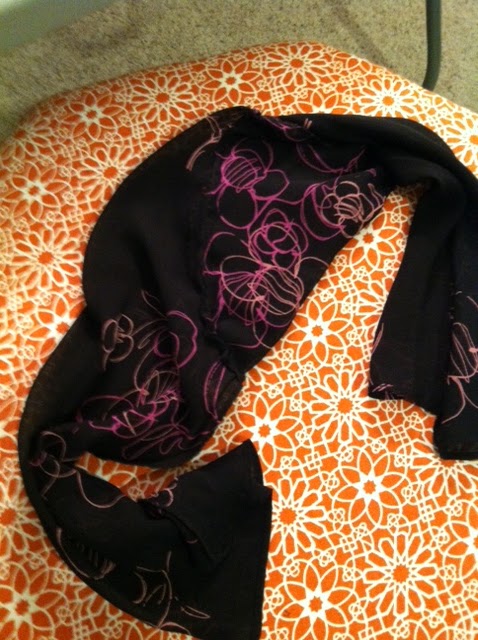
Here's the gorgeousness I will be ringing in the New Year in:


First thing I did was to take off those sleeves! Although fluttery and pretty, they were an awkward length and see-through - not ideal. So, and you knew this was coming, the seam ripper came out in force!


Next, I couldn't face just tossing out the arms. Although not pretty on my arms, it was still a rather gorgeous, soft fabric. So - I sewed together the two arms and made a belt. This action I so modestly call: genius.


Don't mind the sweatpants - I was chilly!
There is still some hand sewing that needs to be done on the V part of the neckline, but other than that, I was happy with my newly created neckline. And the deeper V definitely looked more appropriate on the back of the dress.

I'm actually quite happy with this dress! Again, it's New York so I will have to definitely throw on a sweater and some tights of some sort for New Years, but it's definitely a fluttery, non-constrictive dress that I can also wear it during the summer on its own.
I should probably mention that I had a little help on this dress. Her name is Sophie.

That's right! I got a body for Christmas! That sentence, coming from an ex-Mortuary Science student, may worry some so I should probably re-explain - I got my dressform for Christmas (thanks to my brother's family and my sister!) Using a dressform certainly helped with the pinning and propping and playing around with different styles, and I was pretty thankful to get it.
Speaking of thankful, I got another object for the craft room that will be extremely helpful in all my projects.

A sweet free-standing mirror! No more taking pictures in my small, behind the door, broken mirror. Thanks Mom and Dad! Once it's all cleaned up and wiped off from all of it's box-dust, I'll be putting this beauty to work. Whew!
Lessons learned in this project? 1. Pay attention to stitch length with different fabrics - when I sewed up the sleeves after tearing off the original ones, I used a longer stitch length and it pulled and scrunched up. It didn't end up horribly, but when I sewed the neck I made sure to make a short stitch length so the neck didn't bunch and scrunch in the same way. 2. Don't be scared to create necklines. I was terrified to mess with this one because I didn't want to mess up the whole ordeal. What pushed me into doing it was my husbands voice of reason. I believe his words were something along the lines of "What's going to happen if you mess up? You'll be out a whole six dollars. Big deal." Although $6 is a good chunk of change, in the perspective of amount spent on hobbies and learning experiences, it's a comparably small amount so I decided to jump into it. I'm glad that I did, because it worked out. Maybe next time I'll even venture into a square neck? Let's not get crazy, now.
No comments:
Post a Comment